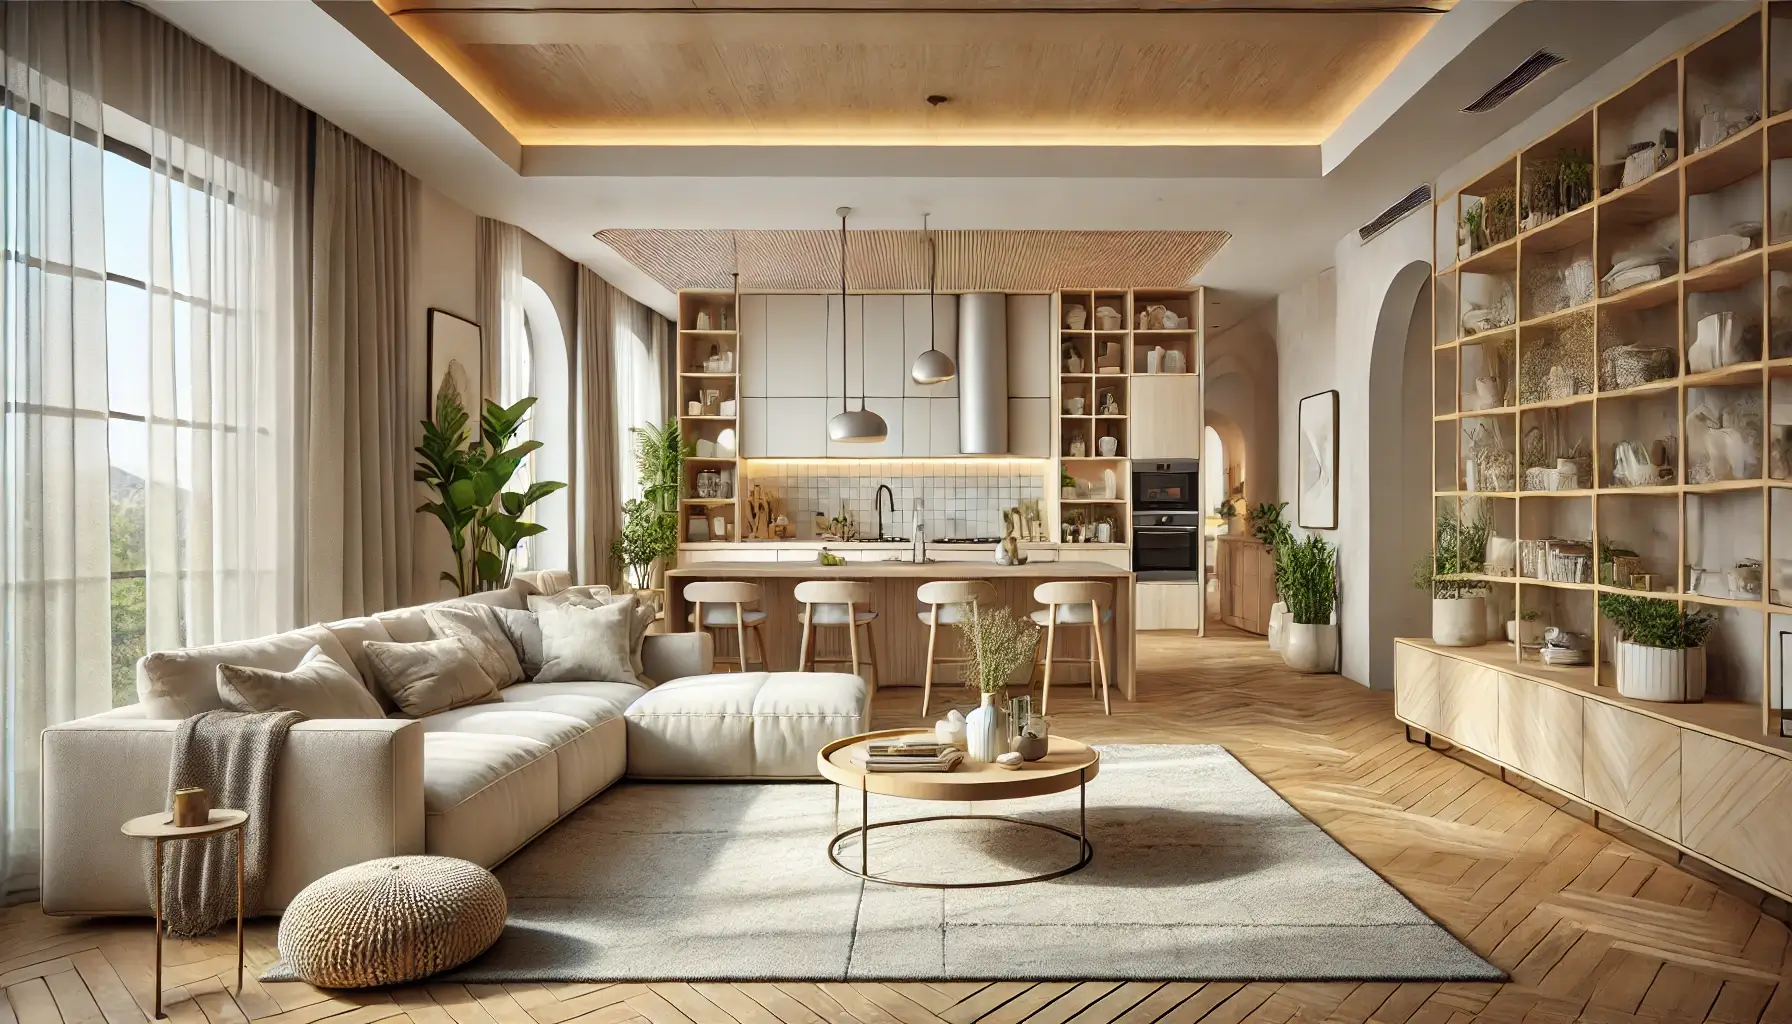
Open-concept spaces have become increasingly popular in modern home design, and for good reason. They offer better flow of natural light, improved social interaction, and a sense of spaciousness — even in smaller homes. But when it comes to organizing a living room that’s integrated with the kitchen, the challenge lies in achieving harmony between the two areas while keeping each one functional and aesthetically pleasing.
In this article, we’ll explore step-by-step strategies, layout tips, color coordination, furniture selection, storage solutions, and smart design hacks to help you organize and optimize your open-concept living room and kitchen with style and practicality.
Understanding the Benefits of Open-Concept Living
Before diving into the organization process, let’s briefly look at why open-concept layouts are so popular — and how that affects your design approach.
Key Benefits:
- Creates a sense of space even in smaller homes
- Improves family interaction and social connectivity
- Allows more natural light to circulate
- Encourages a more relaxed and modern lifestyle
- Adds resale value to your home
However, the open flow between kitchen and living areas also requires careful planning to avoid visual clutter, manage noise, and maintain organization. Let’s dive into how to do that.
Step 1: Define Separate Zones Without Closing the Space
One of the biggest mistakes in organizing an open-concept room is failing to visually and functionally separate each area. The goal is to create distinct zones for cooking, dining, and relaxing — without breaking the open feel.
Use Furniture as Dividers
- A sofa or sectional can act as a natural boundary between the kitchen and living room.
- Use a kitchen island or breakfast bar to delineate the end of the kitchen area.
- A rug under the living room furniture helps visually anchor the seating zone.
Create Traffic Flow
Ensure there’s a clear walking path between spaces. Avoid placing large furniture pieces in walkways. Ideally, you want enough space to move from the kitchen to the living room without weaving through obstacles.
Step 2: Plan the Layout Based on Daily Function
Think about how you and your family use the space. Your layout should reflect your daily routines:
- Do you cook while chatting with guests or family on the couch?
- Do your kids do homework at the kitchen counter while you prep meals?
- Do you often entertain guests?
Tips for Layout Efficiency:
- Place the sofa facing the kitchen if socializing is important.
- Use a multi-use island or peninsula for cooking, dining, and working.
- Position the TV away from the kitchen to minimize distraction or noise conflicts.
- Keep trash bins, recycling, and pantry access within easy reach but visually contained.
Function should always guide form in an open-concept space.
Step 3: Choose a Cohesive Color Palette
A unified color scheme is crucial in open-plan designs. Since the living room and kitchen share a visual field, your color choices should create a smooth, cohesive transition.
How to Coordinate Colors:
- Pick one dominant neutral base color (like warm white, greige, or soft taupe).
- Use 2–3 accent colors across both spaces (navy blue, sage green, burnt orange, etc.).
- Choose matching undertones for kitchen cabinets and living room furniture (cool vs. warm).
- Consider painting one wall in each zone with the same accent color for harmony.
Avoid drastically different themes or patterns between the spaces — the goal is to make it feel like one beautifully flowing room.
Step 4: Maintain Style Consistency
Beyond color, your overall design style should also feel consistent. If your kitchen has modern minimalism and your living room leans into rustic farmhouse, the space may feel disjointed.
How to Align Design Elements:
- Match hardware finishes — like matte black or brass — across the kitchen and living room (cabinet pulls, light fixtures, side tables).
- Stick to a consistent material palette: if your kitchen has wood countertops, consider wood shelving or coffee tables.
- Use similar lighting fixtures to tie zones together — pendant lights in the kitchen can echo floor lamps in the living room.
While it’s okay to highlight subtle differences, the core elements (materials, textures, shapes) should complement each other.
Step 5: Optimize Storage in Both Spaces
Clutter is one of the biggest enemies of an open-concept layout. Because there are no walls to hide behind, everything is on display. Smart storage is key to maintaining an organized and clean-looking space.
Kitchen Storage Tips:
- Install ceiling-height cabinets to maximize vertical space.
- Use pull-out shelves and drawer organizers to reduce visible clutter.
- Incorporate open shelving with carefully curated items (cookbooks, plants, decorative bowls).
Living Room Storage Tips:
- Choose a coffee table with hidden compartments or lift-top features.
- Use media consoles with doors to hide electronics and cords.
- Incorporate built-in bookshelves or floating shelves to keep things tidy.
Shared Storage Ideas:
- Add a sideboard or buffet along the wall between the two spaces for multi-purpose storage.
- Use baskets or decorative bins under console tables to stash miscellaneous items.
- Consider a storage bench or ottoman that can serve both seating and storage needs.
Step 6: Layer Lighting Thoughtfully
In an open-concept space, lighting needs to support both functionality and atmosphere across zones.
Kitchen Lighting:
- Use task lighting like pendant lights over the island and under-cabinet LEDs.
- Consider installing dimmers to control brightness for different activities.
Living Room Lighting:
- Incorporate ambient lighting with floor lamps and table lamps.
- Add accent lighting through wall sconces or light strips on shelves.
Unifying Tip:
- Choose complementary lighting styles and finishes (e.g., industrial black, mid-century brass).
- Try to keep color temperature consistent (e.g., all warm light, around 2700K–3000K).
Well-planned lighting improves comfort, sets the mood, and reinforces the design continuity.
Step 7: Use Textiles to Soften and Separate
Textiles add warmth, comfort, and visual distinction between zones.
Ideas to Try:
- Use different rugs in each area, but with colors that coordinate.
- Layer throw pillows and blankets in the living room to build coziness.
- Choose fabric dining chairs or stools that reflect the textures in your living room seating.
Textiles are also a great opportunity to introduce patterns or seasonal changes without big renovations.
Step 8: Keep Appliances and Utilities in Check
In open-concept homes, you want to minimize the visual and audible impact of appliances.
Kitchen Appliance Tips:
- Choose quiet dishwashers and refrigerators to reduce noise in the shared space.
- Opt for panel-ready appliances that blend into cabinetry.
- Store smaller kitchen gadgets (blenders, toasters) in cabinets or appliance garages.
Cable Management in Living Room:
- Hide TV cords with wall-mounted conduits.
- Use cord organizers or cord covers behind furniture.
Minimizing electronic “visual noise” contributes to a calmer, cleaner space.
Step 9: Incorporate Natural Elements
Bring warmth and life to your open space by integrating natural materials and greenery.
Suggestions:
- Add indoor plants near the border of the two areas — a large leafy plant by the sofa or a row of herbs in the kitchen.
- Use natural wood accents in furniture, shelving, or decor.
- Incorporate stone or terracotta elements (e.g., vases, serving bowls, lamp bases).
These touches add texture, break up the flow visually, and contribute to a more inviting, lived-in atmosphere.
Step 10: Personalize Without Overcrowding
Finally, make sure your open-concept space reflects your personality without becoming overwhelming.
Balanced Personalization Ideas:
- Create a gallery wall in the living room with art or family photos in matching frames.
- Use open kitchen shelves to display cookbooks, ceramics, or travel souvenirs.
- Decorate with books, candles, or artwork that ties both zones together.
Avoid over-decorating — leave negative space to help each item stand out and allow your home to feel breathable.
Final Thoughts: Designing an Open Space That Truly Works
Designing and organizing a living room integrated with a kitchen is both a challenge and a rewarding opportunity. With smart planning, thoughtful design, and the right blend of style and function, you can create a space that feels spacious yet defined, modern yet warm, and most importantly — uniquely yours.
Remember, the most successful open-concept designs are those that blend beauty with practicality, where every item has a purpose and every zone flows naturally into the next. Whether you’re working with a compact apartment or a spacious home, these strategies will help you make the most of your open space.